> ## Documentation Index
> Fetch the complete documentation index at: https://docs.oculusproxies.com/llms.txt
> Use this file to discover all available pages before exploring further.
# How to Set Up Oculus Proxies With Multilogin
> Streamline your multi-account management! By integrating Oculus Proxies with Multilogin, you can securely manage multiple online accounts while enjoying undetectable browsing, enhanced privacy, and reduced risk of account bans. This guide will help you set up Oculus Proxies with Multilogin step by step.
 ## What is Multilogin?
**Multilogin** is a robust anti-detect browser platform designed for securely managing multiple online accounts. It enables the creation of virtual browsing profiles that simulate physical devices, keeping your accounts isolated and undetectable.
Whether you’re working in advertising, affiliate marketing, e-commerce, or crypto, **Multilogin** simplifies managing multiple profiles. Pair it with **Oculus Proxies** for enhanced privacy, bypassing restrictions, and avoiding blocks during your tasks.
If you’re using **Oculus** to access search engines like **Google, Bing, or Yandex** and facing connection issues, the proxy type could be the reason. **ISP Premium Proxies** ensure stable and unrestricted access, preventing blocks that standard proxies might encounter. Switching to **ISP Premium Proxies** can help maintain smooth and reliable performance.
## How to Integrate Oculus Proxies with Multilogin
Visit the [Multilogin website](https://multilogin.com/), download and install the application.
1\. On the dashboard, click **New Profile** to start creating a virtual browser profile.
## What is Multilogin?
**Multilogin** is a robust anti-detect browser platform designed for securely managing multiple online accounts. It enables the creation of virtual browsing profiles that simulate physical devices, keeping your accounts isolated and undetectable.
Whether you’re working in advertising, affiliate marketing, e-commerce, or crypto, **Multilogin** simplifies managing multiple profiles. Pair it with **Oculus Proxies** for enhanced privacy, bypassing restrictions, and avoiding blocks during your tasks.
If you’re using **Oculus** to access search engines like **Google, Bing, or Yandex** and facing connection issues, the proxy type could be the reason. **ISP Premium Proxies** ensure stable and unrestricted access, preventing blocks that standard proxies might encounter. Switching to **ISP Premium Proxies** can help maintain smooth and reliable performance.
## How to Integrate Oculus Proxies with Multilogin
Visit the [Multilogin website](https://multilogin.com/), download and install the application.
1\. On the dashboard, click **New Profile** to start creating a virtual browser profile.
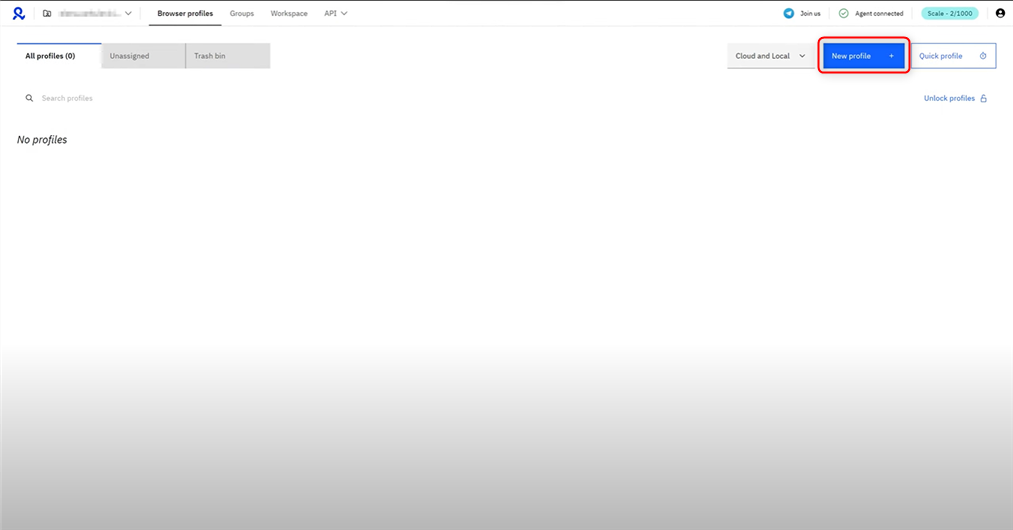 2\. Configure the basic profile settings:
* **Profile Name**: Choose a descriptive name (e.g., *Oculus Profile*).
* **Operating System**: Select the OS that matches your actual setup (macOS, Windows, or Linux) to avoid fingerprint conflicts.
* **Storage Type**: Choose **Cloud Storage** if you want the profile accessible across devices or teams.
* **Browser Type**: Select between **Mimic** (Chrome-based) or **Stealthfox** (Firefox-based), depending on your preference.
2\. Configure the basic profile settings:
* **Profile Name**: Choose a descriptive name (e.g., *Oculus Profile*).
* **Operating System**: Select the OS that matches your actual setup (macOS, Windows, or Linux) to avoid fingerprint conflicts.
* **Storage Type**: Choose **Cloud Storage** if you want the profile accessible across devices or teams.
* **Browser Type**: Select between **Mimic** (Chrome-based) or **Stealthfox** (Firefox-based), depending on your preference.
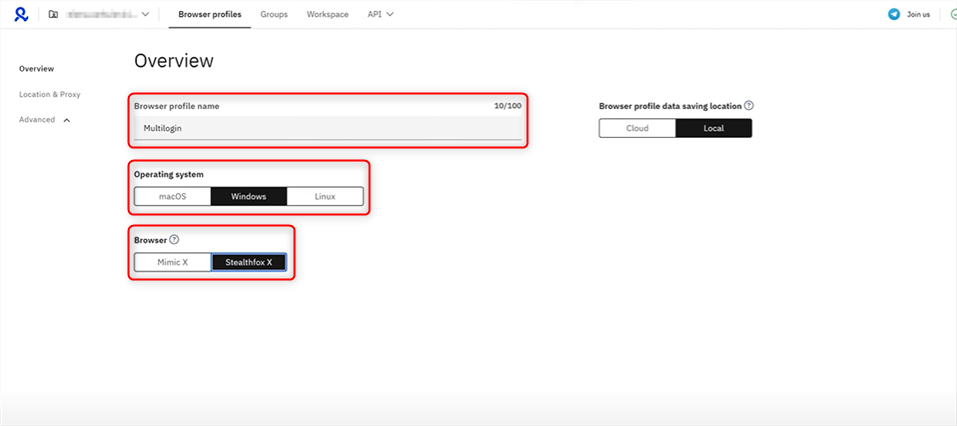 1\. In the profile setup, navigate to the **Proxy** section.
2\. Choose **Custom** as the proxy type.
3\. Enter your Oculus Proxy details:
* **Proxy Type**: Select `HTTP`, `HTTPS`, or `SOCKS5`.
* **New Address**: Input `proxy.oculus-proxy.com`.
* **Port**: Enter the port number from your [Oculus Dashboard](https://oculusproxies.com/dashboard/page/plans).
* **Username**: Use your Oculus proxy **username**.
* **Password**: Enter your Oculus proxy **password**.
**For country-specific proxies, modify your username (e.g., `your-username-country-US`) to receive a US exit node.**
1\. In the profile setup, navigate to the **Proxy** section.
2\. Choose **Custom** as the proxy type.
3\. Enter your Oculus Proxy details:
* **Proxy Type**: Select `HTTP`, `HTTPS`, or `SOCKS5`.
* **New Address**: Input `proxy.oculus-proxy.com`.
* **Port**: Enter the port number from your [Oculus Dashboard](https://oculusproxies.com/dashboard/page/plans).
* **Username**: Use your Oculus proxy **username**.
* **Password**: Enter your Oculus proxy **password**.
**For country-specific proxies, modify your username (e.g., `your-username-country-US`) to receive a US exit node.**
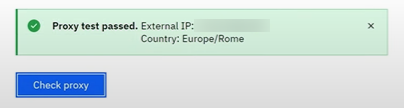
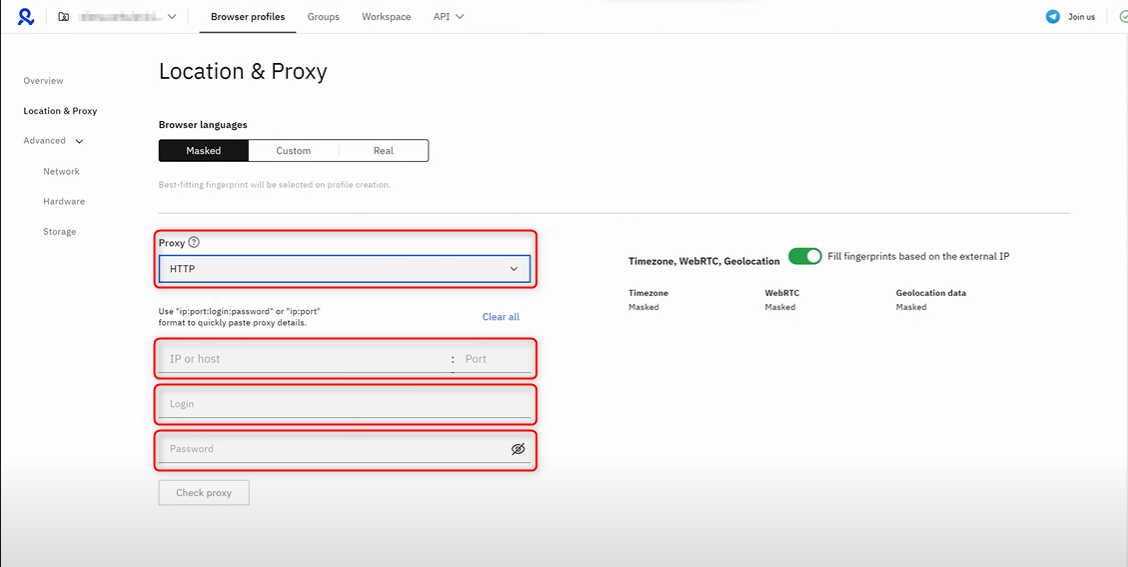 1\. Click **Check Proxy** to verify the connection.
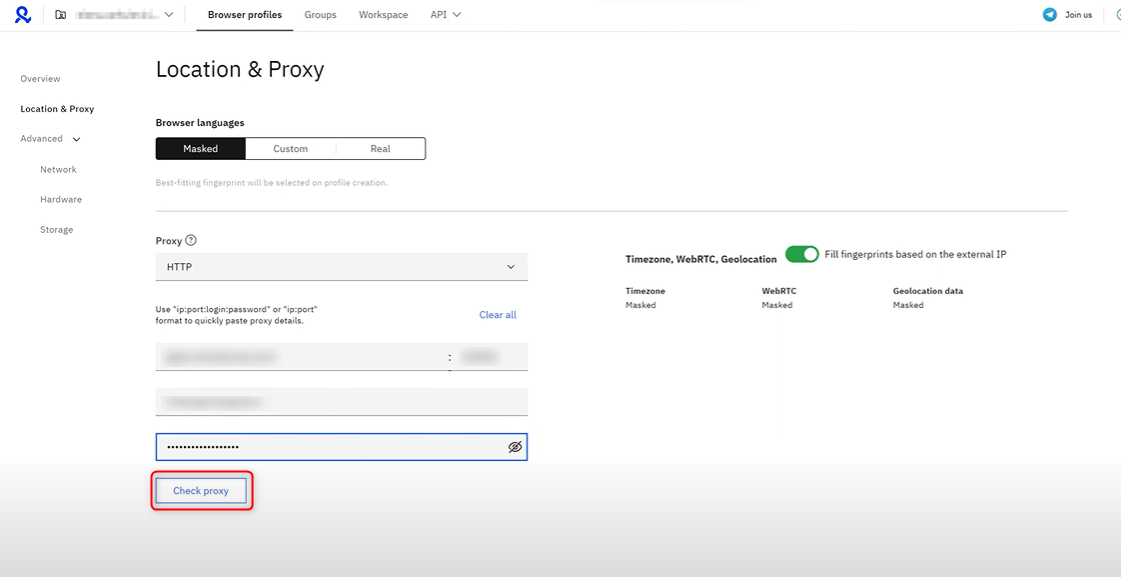 2\. If the test is successful, proceed to save the profile.
 3\. Click **Create Profile** to finalize the configuration.
1\. Navigate back to the **Profiles** tab in Multilogin.
2\. Select the profile you just created.
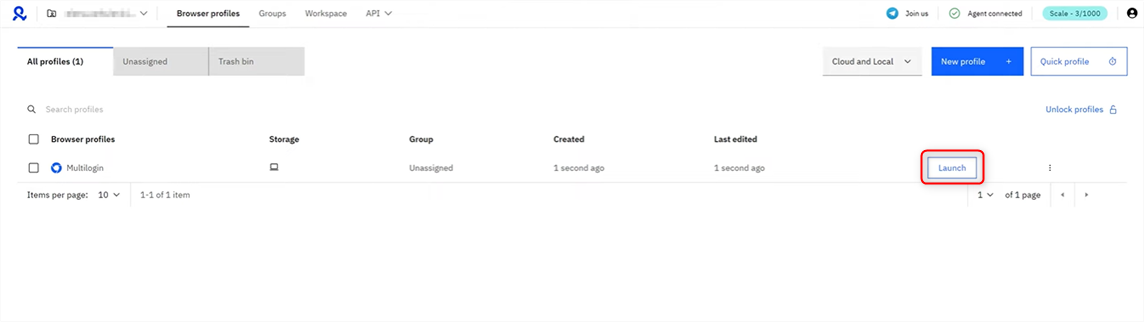
3\. Click **Launch** to launch the browser session with your configured Oculus Proxy.
3\. Click **Create Profile** to finalize the configuration.
1\. Navigate back to the **Profiles** tab in Multilogin.
2\. Select the profile you just created.
3\. Click **Launch** to launch the browser session with your configured Oculus Proxy.
 **You're all set!** You’ve successfully integrated **Oculus Proxies** with **Multilogin**. Now you can securely manage multiple accounts, access geo-restricted content, and browse anonymously with ease.