> ## Documentation Index
> Fetch the complete documentation index at: https://docs.oculusproxies.com/llms.txt
> Use this file to discover all available pages before exploring further.
# How to Set Up Oculus Proxies With Signal
> Harness the power of Signal by pairing it with Oculus Proxies. Configure secure, anonymous proxy settings to strengthen your digital privacy, bypass regional limitations, and maintain safe, unrestricted communication from anywhere in the world.
 ## What is Signal?
**Signal** is a no-cost, open-source communication platform that delivers end-to-end encryption for text messaging, voice chats, and video calls. It allows users to share voice memos, images, videos, and various file types across multiple devices. With **Oculus Proxies**, you can elevate your privacy, sidestep content restrictions, and ensure a protected, seamless messaging experience.
If you're using **Oculus** to access search engines like **Google, Bing, or Yandex** and facing connection issues, the proxy type could be the reason. **ISP Premium Proxies** ensure stable and unrestricted access, preventing blocks that standard proxies might encounter. Switching to **ISP Premium Proxies** can help maintain smooth and reliable performance.
## How to Integrate Oculus Proxies With Signal
[Download](https://apps.apple.com/us/app/signal-private-messenger/id874139669) the Signal app from the App Store.
Launch Signal and tap your profile icon to access the **Settings** menu.
## What is Signal?
**Signal** is a no-cost, open-source communication platform that delivers end-to-end encryption for text messaging, voice chats, and video calls. It allows users to share voice memos, images, videos, and various file types across multiple devices. With **Oculus Proxies**, you can elevate your privacy, sidestep content restrictions, and ensure a protected, seamless messaging experience.
If you're using **Oculus** to access search engines like **Google, Bing, or Yandex** and facing connection issues, the proxy type could be the reason. **ISP Premium Proxies** ensure stable and unrestricted access, preventing blocks that standard proxies might encounter. Switching to **ISP Premium Proxies** can help maintain smooth and reliable performance.
## How to Integrate Oculus Proxies With Signal
[Download](https://apps.apple.com/us/app/signal-private-messenger/id874139669) the Signal app from the App Store.
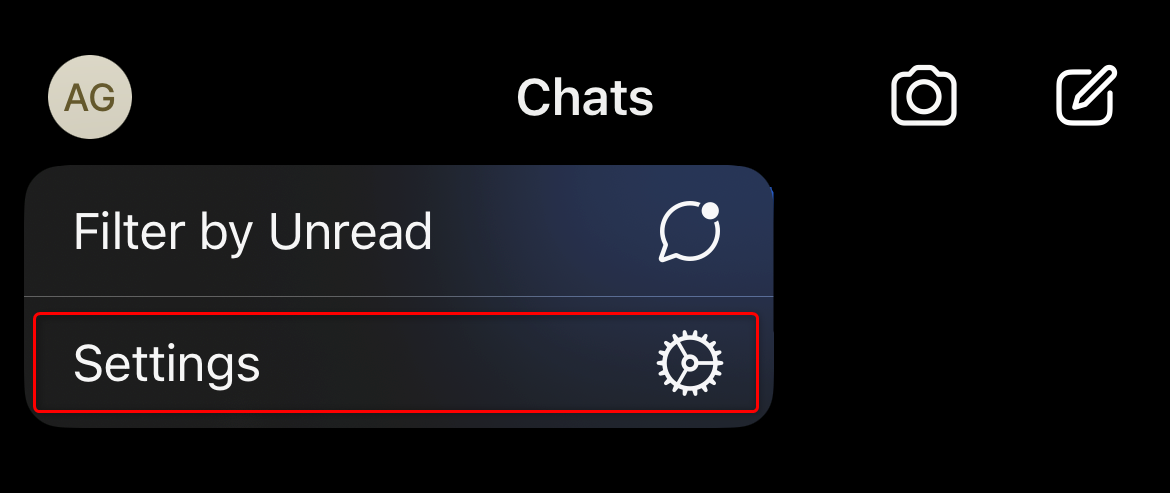
Launch Signal and tap your profile icon to access the **Settings** menu.
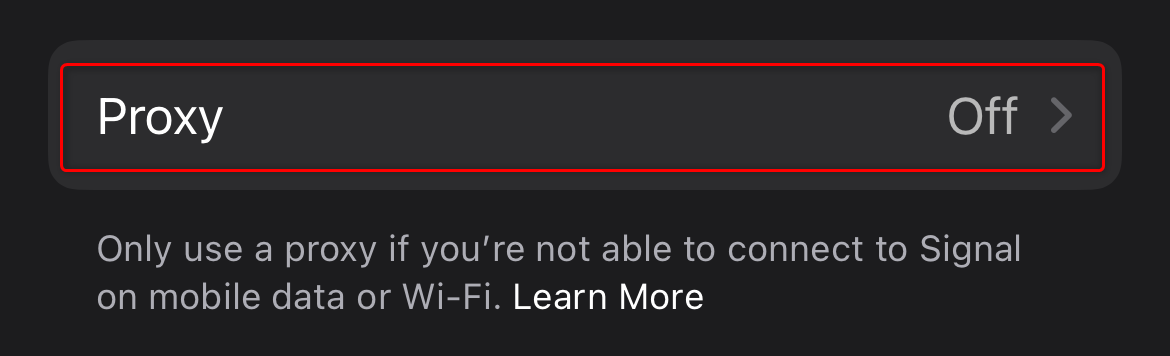
 Head to **Privacy → Advanced → Proxy**.
 Switch on **Use Proxy**, input your proxy details, and press **Save** to activate the settings.
You can enter the proxy details using either of the following formats:
1. `proxy.oculus-proxy.com:port:username:password`
2. `proxy.oculus-proxy.com:port@username:password`
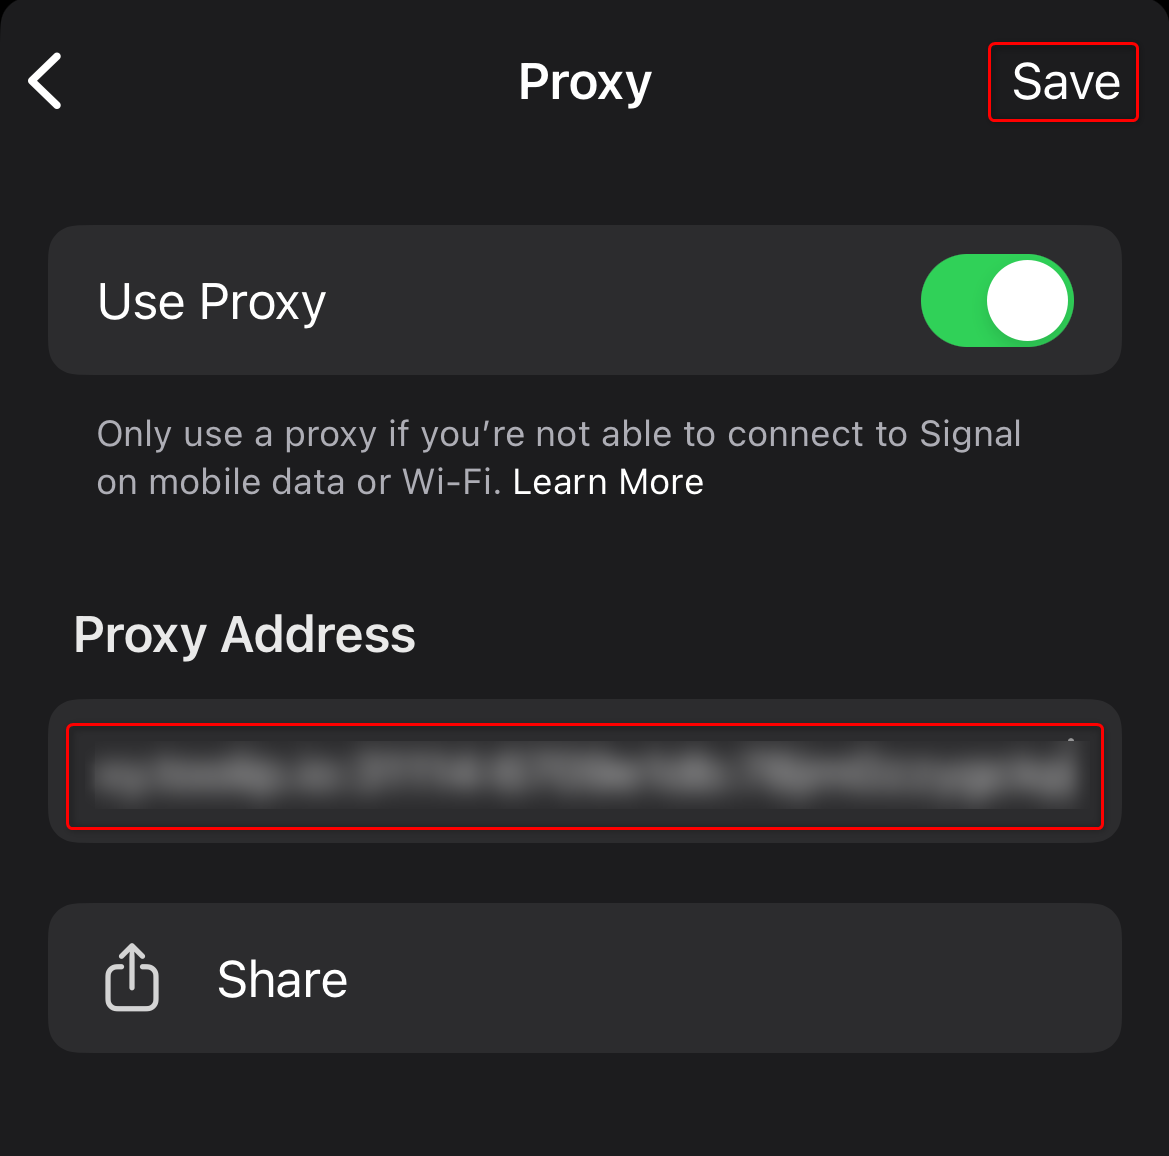
Switch on **Use Proxy**, input your proxy details, and press **Save** to activate the settings.
You can enter the proxy details using either of the following formats:
1. `proxy.oculus-proxy.com:port:username:password`
2. `proxy.oculus-proxy.com:port@username:password`