Follow this step-by-step guide to configure Oculus Proxies on your Android device. While settings may vary by manufacturer, the core setup process remains the same.
You can set up a proxy on your Android device based on your network type: Mobile Network or Wi-Fi Network. Follow the instructions below depending on how you connect to the internet.
If you’re using Oculus to access search engines like Google, Bing, or Yandex and experiencing connection issues, your proxy type may need adjustment. ISP Premium Proxies provide stable, unrestricted access and help prevent blocks that standard proxies may encounter. Switching to ISP Premium Proxies can improve your experience.
Mobile Network
Wi-Fi Network
1
Open Network Settings
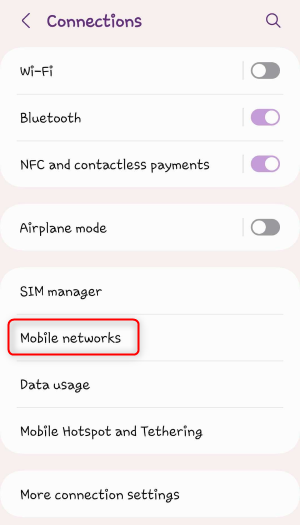
1. Go to Settings on your Android device.2. Navigate to Network & Internet or Connections (depending on your device model).
2
Access APN Settings
1. Tap Mobile Networks.2. Select Access Point Names (APNs).
\
3
Edit APN Details
1. Select your active APN.2. Enter the following details:
Congratulations! You’ve successfully configured Oculus Proxies on your Android device. You can now enjoy secure browsing, bypass geo-restrictions, and protect your online activity with ease. 🚀


 \
\